Here is how to create a traffic simulation using HTML/CSS …and a pinch of JavaScript. I used CSS3 animations, vehicle images from freepik and jQuery.
First, let’s create the road where the vehicles will run. We’ll add three lanes where one will be reserved for priority vehicles and public transports. On each lane, we’ll add some vehicles and a counter to show how many vehicles passed.
<div class="road-container" id="road">
    <div class="lane regular lane-1" id="lane-1">
        <div class="vehicle car"></div>
        <div class="vehicle truck"></div>
        <div class="vehicle-count">
            vehicles: <span id="lane-1-count">2</span>
        </div>
    </div>
    <div class="lane regular lane-2" id="lane-2">
        <div class="vehicle car"></div>
        <div class="vehicle car car-3"></div>
        <div class="vehicle car car-5"></div>
        <div class="vehicle-count">
            vehicles: <span id="lane-2-count">3</span>
        </div>
    </div>
    <div class="lane priority lane-3" id="lane-3">
        <div class="vehicle car emergency police"></div>
        <div class="vehicle car taxi"></div>
        <div class="vehicle bus"></div>
        <div class="vehicle-count">
            vehicles: <span id="lane-3-count">3</span>
        </div>
    </div>
</div>
Now that we have the basic HTML structure let’s add some CSS styles for the road and the vehicles. The roads will have a background with label displayed in the middle. I’m using SCSS format here.
.road-container {
  display: flex;
  flex-direction: column;
  height: 60vh;
  min-height: 350px;
  width: 100%;
  align-items: stretch;
  justify-content: stretch;
  border-top: 10px solid #81bf85;
  border-bottom: 10px solid #81bf85;
  overflow: hidden;
  max-width: 1920px;
  margin: 0 auto;

  .lane {
    box-sizing: border-box;
    min-height: 110px;
    height: 33.33%;
    background: #212121 url('../images/lane-border.png') repeat-x bottom left;
    display: flex;
    align-items: center;
    position: relative;

    &::before {
      content: 'NORMAL LANE';
      position: absolute;
      left: 0;
      right: 0;
      top: calc(50% - 1.5rem);
      font-size: 3rem;
      line-height: 3rem;
      font-weight: 600;
      color: rgba(255, 255, 255, 0.7);
      text-align: center;
    }

    &.lane-2 {
      &::before {
        content: 'NORMAL LANE';
      }
    }

    &.priority {
      &::before {
        content: 'PRIORITY LANE';
      }
    }

    &:last-child {
      background-image: none;
    }

    &.priority {
      background-color: #994424;
    }
  }
}
Now some styles for all the vehicles running on the lanes.
.vehicle {
margin: 15px;
height: 80px;
min-width: 80px;
background-position: center center;
background-size: contain;
background-repeat: no-repeat;
position: absolute;
left: -200px;
top: calc(50% - 60px);
&.car {
background-image: url('../images/car-1.svg');
@for $i from 1 through 7 {
&.car-#{$i} {
background-image: url('../images/car-#{$i}.svg');
}
}
&.police {
background-image: url('../images/police.svg');
}
&.ambulance {
background-image: url('../images/ambulance.svg');
}
&.taxi {
background-image: url('../images/taxi.svg');
}
}
&.bus {
background-image: url('../images/bus.svg');
min-width: 120px;
}
&.truck {
background-image: url('../images/truck.svg');
min-width: 170px;
}
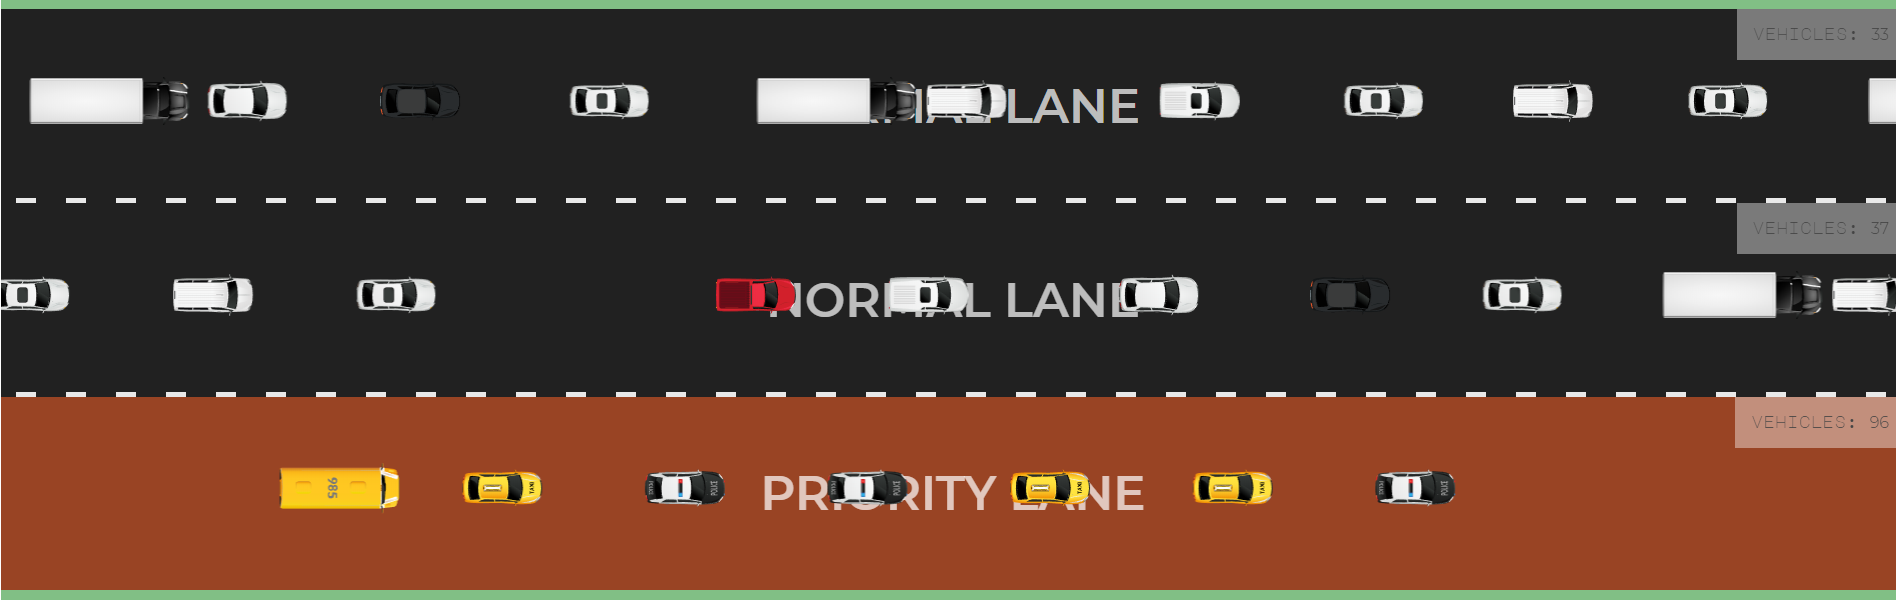
}Notice that we have made sure all the vehicles are out of the sight when initiated. The vehicle type truck has the maximum width of 170px and we have set the initial left position to -200px for all vehicles. This is how the lanes should look like at this point:
Let’s add some animation to the vehicles to make them move on the lanes.
@keyframes move {
  to {
    transform: translateX(2200px);
  }
}

@keyframes move-bus {
  40%, 100% {
    transform: translateX(2200px);
  }
}
It’s a pretty simple animation. We want the vehicles to start moving and go out of the viewing area, which we set to 1920px earlier. We added a different animation for the buses called move-bus to simulate a schedule (e.g., arriving every 15 minutes). Buses will only run on the priority lane and will show up at certain intervals.
Let’s add these animations to the vehicles and lanes. We’ll add following line to the .vehicles class to animate the vehicles.
animation: move 10s infinite linear;
And following two lines to the .vehicles.bus class to add special animation for the buses.
animation-name: move-bus;
animation-duration: 25s!important;
At this point, vehicles are moving, but we have an issue!
Since all the vehicles are using the same animation speed, those are overlapping each other. We need to add some delay to the vehicles based on their position. We’ll add following styles inside .lane style.
.vehicle {
  animation-duration: 10s;

  @for $i from 1 through 30 {
    &:nth-child(#{$i}) {
      animation-delay: #{0.83 * ($i - 1)}s;
    }
  }
}
The above style will handle up to 30 vehicles per lane. But in practice, we may not have more than 17 vehicles because the road container width is set to 1920px and each vehicle requires 80px + 15px + 15px = 110px minimum width.
Also, where did we get the 0.83 second duration? From the styles for animation keyframes, we see that the animation starts at -200px and continues to 2200px, a total of 2400px. And from the 10s animation duration, we can approximate that each vehicle will pass approximately 200px within 0.83s. For the sake of simplicity, we considered each vehicle with same 200px width.
Now the animation looks pretty decent.
Now we’ll try to make it a bit fancy.
First, we’ll add a few more vehicles randomly using jQuery.
Second, we’ll add slow-lane and fast-lane simulation. And when the vehicle density is at 100% we’ll simulate traffic congestion.
Finally, we’ll add a script to increase the vehicle count each time one passes out of the screen.
With all that implemented the simulation should look like this:
See the simulation in action here. The complete source code is available at GitHub.


Leave a Reply